
Designing Immersive Experiences
A three week course combining interactive spaces, prototyping, and mixed reality.
Combining interactive spaces, prototyping, and mixed reality, student will explore how our spaces will fuse the digital and physical. In this course we will explore how to craft meaningful interactive spaces through practical, hands-on prototyping and scenario building. We will introduce and explore concepts from the design of internet connected objects to the worlds of virtual and mixed reality. An emphasis will be placed on rapidly prototyping and exploring these designs.
Projects from the Course
SpacePainter was created by Ubaldo Andrea Desiato, Federico Peliti, and Mantas Lilis. Read more about this group building a shared AR experience in a 5-day design sprint Project.
A collaboration by Jing Yu, Micol Galeotti and Sami Désir. Read more about the group's Lessons for the Future
An exploration by Alex Penman, Julius Ingeman Breitenstein and Rina Shumylo. Read more about the Haptification Manifesto on medium.
Follow the journey of Sareena Avadhany, Shalin Shah, and Varenya Raj exploring and working with XR technologies.
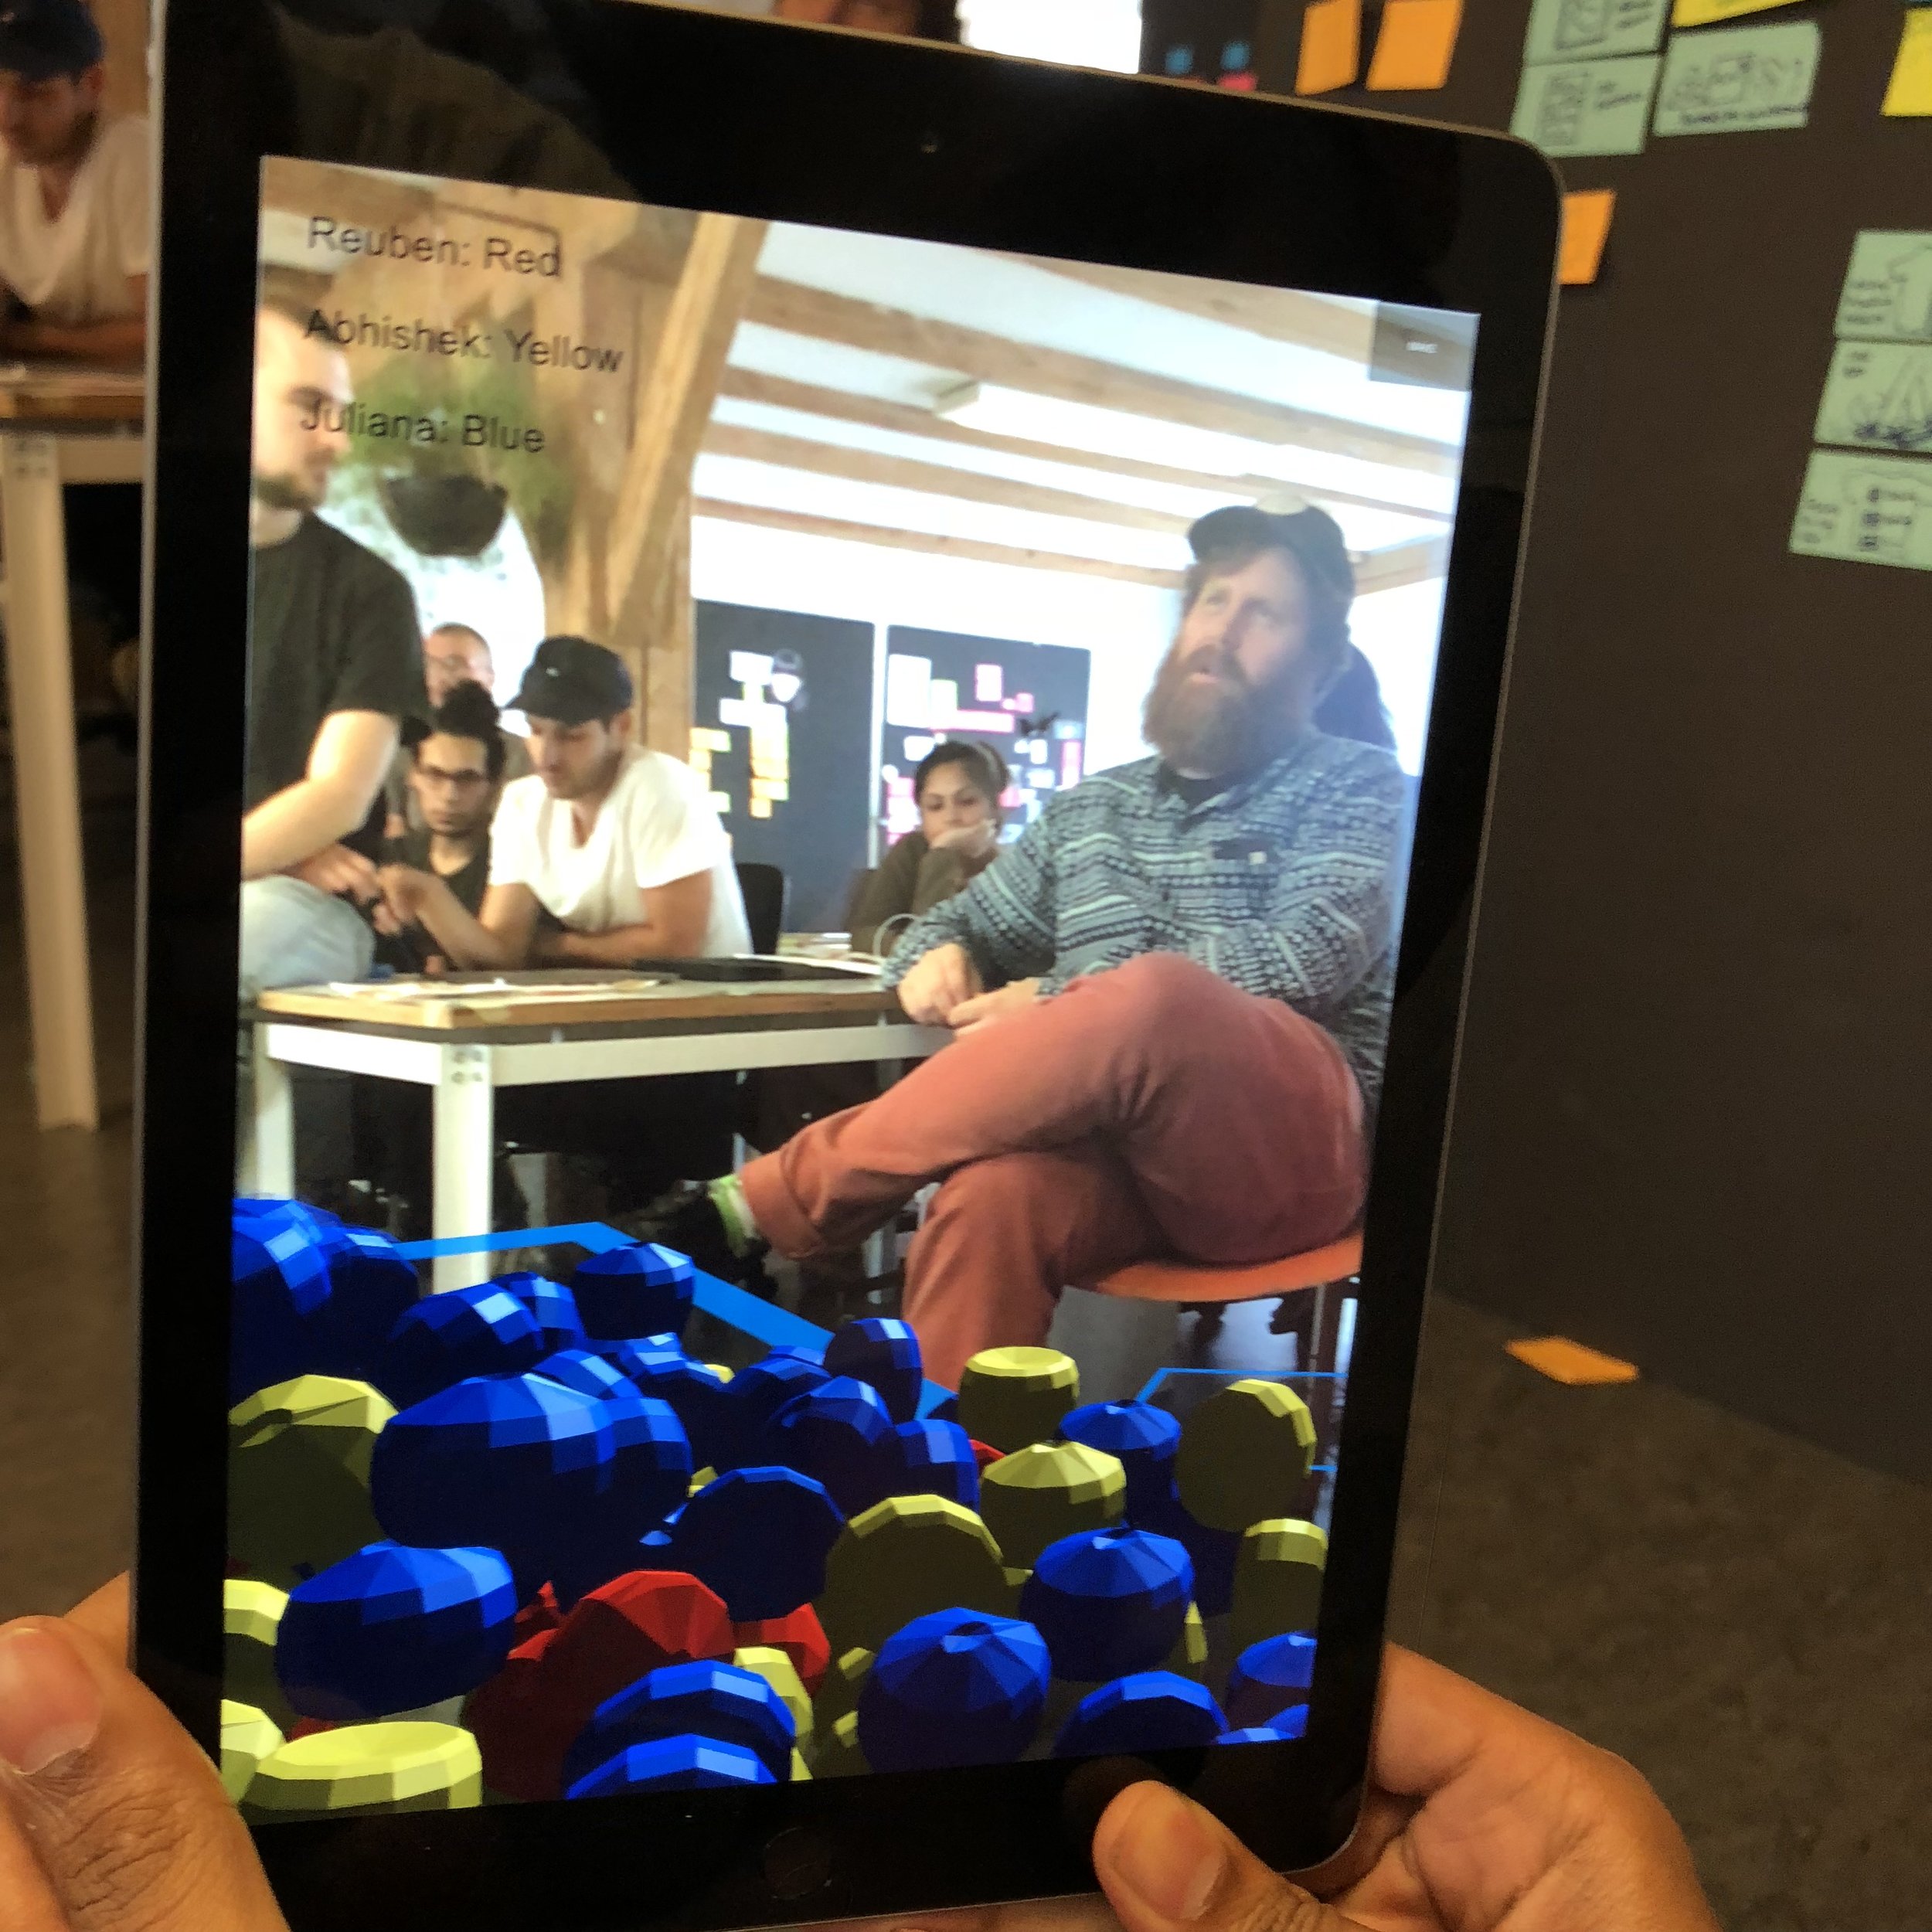
Read more about Reuben DSilva, Juliana Lewis and Raunaq Patel's approach to giving data volume in your world.
Learn more about the concept and process for Unencumbered Reality by Anna Smeragliuolo, Axel Jorgensen, and Surojit Dey, and Yuxi Liu.
Abhishek Kumar, Fahmida Azad and Raphael Katz wrote up more thinking about Designing Augmented Apparel.
Augmented Storybook was created by Chaeri Bong and Sindhumandari.
Course Introduction & Process
Each day we see and interact with a variety of screens. From handheld mobile devices to large-scale digital displays, our current technologies utilize screens to provide flat views and interfaces into a vast world of digital materials. However, there is a change happening as these digital technologies transition into the objects and environments around us. Interfaces are moving from a world of ‘magic paper’ to a world of objects and environments.
“Computing is not about computers any more. It is about living”
We live in an amazing time where digital technology is beginning to take many different physical forms, with a rise in new interactions and sensorial experiences. But how will these new connected physical-digital spaces impact our lives? What do we expect out of space as we do with the rest of our digital artifacts? As these technologies become ubiquitous how do we shape them to be meaningful parts of our lives?

From this perspective we see our physical world becoming infused with the digital, but the opposite is also happening. Virtual and Mixed Reality offers a new take on these questions by letting us embed digital objects with properties from the physical world such as location, scale, and persistence in the world. How do these technologies work to create and augment environments?
In this course, we will explore how to craft meaningful connected spaces through practical, hands-on prototyping and scenario building. We will introduce and explore concepts from the design of internet connected objects to the worlds of virtual and mixed reality. An emphasis will be placed on rapid prototyping and exploring these designs. Together we will explore a number of quick exercises to better understand these technologies.
With the learned knowledge of prototyping techniques, affordances, physical materials and digital tools, participants will build a working physical prototype to communicate their final idea. They will learn how to use immersive storytelling rather than screen-based presentations to demonstrate the experiences.
Week 1: Day 1
Day one covers the logistics of the course and begins the plan for what will happen at the end of the week in terms of showing the prototype projects to other courses or visiting guests.
Lecture: Intro to the Course (link to Google Slides Presentation)
Kick-off Session for the Course:
Tell us a bit about yourself... who are you?, where you are from?, what interests you / what you do?
What would you like to get from the course?
Describe an environment you have experienced that you love or made a meaningful impact on you.
Exercise: How to Brainstorm / Intro to Bodystorming
Over the last decade brainstorming has come under fire as a methodology for some good reasons. It can produce less ideas with less variation. Read this Harvard Business Review article which sites some of the research for more information about the controversy. Many of us have experienced a brainstorm that fell flat, here are some guidelines we use to frame more effective brainstorming.

Explore the Terrain of the Idea
Don't be afraid to get weird, take tangents, and express the ideas you are worried will make you look foolish or unknowledgable.
Start with the agreement that the goal of the Brainstorm is to map the terrain of the idea together. One of the strengths of a group brainstorm can be building on each others ideas to find new areas to explore. Everyone should play a role in facilitating and advocating for others in the group.
“We do not like to appear “ignorant” or “stupid” or just plain wrong. Of course, we all know that our own minds are full of messy confusion, and that many others are in the same plight, but we imagine that some minds are tidy and neat and sharp. We see no reason to advertise not being in this class, especially in the presence of people such as bosses and teachers who have power over us. So voices within caution us to be careful of what we say: Talking too much might reveal what kind of mind we have and make us vulnerable. Eventually this caution becomes a habit.”
Constraints in Design (and life!) can be seen as empowering (read more about the value of constraints) the process of problem generation and problem solving. Let's walk through an example that might help elucidate the way constraints can help the process. Imagine for our idea we have been struck by the amount of violence in the world and we would like to reduce that violence. We decide to start brainstorming with the question...
How might we create world peace?
It's a great question, but I suspect your brainstorm will be ambling and unlikely to produce many ideas that are solid enough to build on. The terrain is so vast that it's unlikely you will cover it in any meaningful detail. How could we improve the brainstorm? Constraints.
How might we increase peace with a daily ritual?
This will be a much more productive brainstorm because the specificity will help you cover a more manageable amount of terrain. This is the altitude that will yield the best brainstorms results. Can there by too many constraints? Absolutely...
How might we triple peace with a evening ritual using Android phones in Chicago with a cubist artistic approach?
You can probably come up with some ideas, but you will get diminishing results quickly. The problem is that there are a lot of constraints to keep in mind at the same time and the area of coverage has become too constrained. This is sometimes referred to as 'overfittting' the problem space because the ideas are too close to one or a few specific solutions.
So before brainstorming come up with some different 'How might we' style questions to ask the group. If you are having trouble forming the questions, this might help to create a variety.
How might we use the ____ to ____ with _____ ?
How might we create ____with___to____ ?
How might we showcase ____ with ____ in order to _____ ?
The blanks could be goals, technologies, places, methods, audiences, or any else you find useful. Now that you have your questions for the brainstorm, follow these rules for the brainstorm session itself....

1. It’s blue sky time, defer judgment
2. Encourage wild ideas
3. Build on the ideas of others
4. Stay focused on the topic
5. One conversation at the time
6. Be visual.
7. Go for quantity
8. It’s about ideas generation, not idea evaluation.
9. Respect everyone and let everyone speak
10. Have fun!
This presentation covers the thoughts behind the course, our history in this area, and thoughts about UX for the future, when we are unable to distinguish the physical and digital.
Demo: Connecting Physical and Digital Worlds

Makey Makey

Introduction to Spacebrew
We use Spacebrew.cc to help construct interactive spaces for the course.
Additional Resources:
Spacebrew Admin Interface
Spacebrew Javascript Slider Example
Spacebrew Processing Library and Example
Week 1: Day 2
At the beginning of day 2 we reviewed Makey Makey prototypes from the previous day and then setup our computer environments for prototyping with the tools of the YUXI: The Mixed Reality Hardware Toolkit. It started with installing drivers and using the Serial Console cable to connect to the Raspberry Pi. We learned that installing both drivers is a better methodology for getting started.
Connecting to the Raspberry Pi
After installing the drivers, to connect via the serial cable you must first look for the name used to connect to the Pi
ls /dev/cu.*
And then you can use the screen command to open a terminal session to the Pi, for example:
screen /dev/cu.SLAB_USBtoUART 115200
You can use raspi-config to change the wifi settings and enable SSH. Once enabled you can login to the device via ssh like this..
ifconfig
ssh pi@192.168.1.1
The address should be the address that your pi has received from the wifi router. You can use ifconfig to determine the address of your pi on the network. Once connected we began to run through 3 demo projects.
Getting Started with YUXI: The Mixed Reality Hardware Toolkit
Hello World YUXI Example
Lights and Buttons YUXI Example
SenseHat YUXI Example
More information can be found on the Github page for YUXI: The Mixed Reality Hardware Toolkit
Week 1: Day 3
Project Brief
Brief: We are in a rare situation at the very beginning of a platform shift. This time gives artists, designers, and technologists a unique opportunity to shape the medium. The growth of MR/AR/VR is being invested in heavily by the major technology companies of the world. Small thoughtful projects at this moment have a chance to sway the industry and the public imagination towards more preferable futures.
Part 1 - The Mixed Reality Hardware Toolkit
In groups of 2-3 create a project using the Mixed Reality Hardware Toolkit that captures a finely tuned micro-interaction between the physical and virtual. Use sensors and actuators that blur our imagination of what is real in the interaction. The goal is to play with the space between the physical and virtual and create something that other people might recreate. Each group will also create a tutorial that we will publish on Github under an MIT Open Source license.
We covered the basics of the Unity Editor and distributed hardware sensors and actuators to each of the groups.

Week 1: Day 4

We began the day by walking through more of the steps to editing and understanding Python. You can use Learn Python to discover more about the Language. We then transitioned to learning how to code object behaviors in Unity using C# and shared a collection of resources for learning more.
Learning Unity Resources:
Interface & Essentials - Unity - https://unity3d.com/learn/tutorials/topics/interface-essentials
Roll-a-ball tutorial - Unity - https://unity3d.com/learn/tutorials/s/roll-ball-tutorial
Hello Unity 01 : Deconstructing Darkness - YouTube - https://www.youtube.com/watch?v=7bPQ9L0hvXM
Programming in Unity:
Scripting - Unity - https://unity3d.com/learn/tutorials/s/scripting
Raycasting - Let’s Try: Shooting with Raycasts (article) - Unity
PushyPixels - YouTube - https://www.youtube.com/user/PushyPixels
https://hackr.io/tutorials/learn-unity
Unity C# and Shader Tutorials - https://catlikecoding.com/unity/tutorials/
Brackeys Tutorials - https://www.youtube.com/user/Brackeys
Udemy Unity Course:
Complete C# Unity Developer 3D - Learn to Code Making Games
Raspberry Pi Resources:
Python Programming Tutorials - https://pythonprogramming.net/introduction-raspberry-pi-tutorials/
Raspberry Pi : Adafruit Industries, Unique & fun DIY electronics and kit
https://projects.raspberrypi.org/en/
Adafruit’s Raspberry Pi Lesson 5. Using a Console Cable
Adafruit’s Raspberry Pi Lesson 3. Network Setup
Adafruit’s Raspberry Pi Lesson 6. Using SSH
Processing on the Raspberry Pi & PiTFT
Python Resources:
Learn Python - Free Interactive Python Tutorial - https://www.learnpython.org/
Week 1: Day 5


Project Reflection:
Each student in the course was given a sensor or actuator to connect via YUXI into a small prototype. Afterwards tutorials were done for each of the projects to assist in work done in the second part of the course. Here are the YUXI tutorials...
Connecting XR to a Power Relay
Connecting a Motorized Slide Pot to Spacebrew and Unity
Virtual Wheel of Items with a Physical Knob using Servos Motors
WeathAR: Weather AR with Motorized Control
Skywriter Hat, RPI and the Allegory of the duck
Sending images from Spacebrew to Unity
AR-Fishing
Popping AR Balloons
Touch Virtual Spiders
Servos Control a Virtual Marble
Cat and Mouse: with a motorized slide pot
Week 2:
In groups of 2-3 create a project which displays a more preferable future using Mixed Reality. It should be a prototype which lets someone feel some part of the future for themselves. Categories that might be worth exploring…
Being an Explorer of the world
Ethics and Values of the Medium
Objects which are simultaneously virtual / physical
New Tools
New Realities
Technology Ecosystem Collisions (Machine Learning, Blockchain, Biology, etc.)
We will assemble documents, prototypes, roadmaps, frameworks, ethical guidelines, and inspiration for this emerging set of technologies. We will use these materials to engage in a global discourse on these emerging technologies.
The end of the day was dedicated to the process of Discovery & Immersion to establish a terrain to explore during the concept phase. On Tuesday groups framed a set of 'How might we' style question which were created from the terrain defined by their Discovery process. On Wednesday they developed a plan to develop the design of their project which they worked on until Friday, when we gathered to do Alpha testing of our projects. Students left on Friday with written feedback from each group on their project with the goal of being able to prioritize the last tweaks and features to add or remove from their experience.
Week 3:
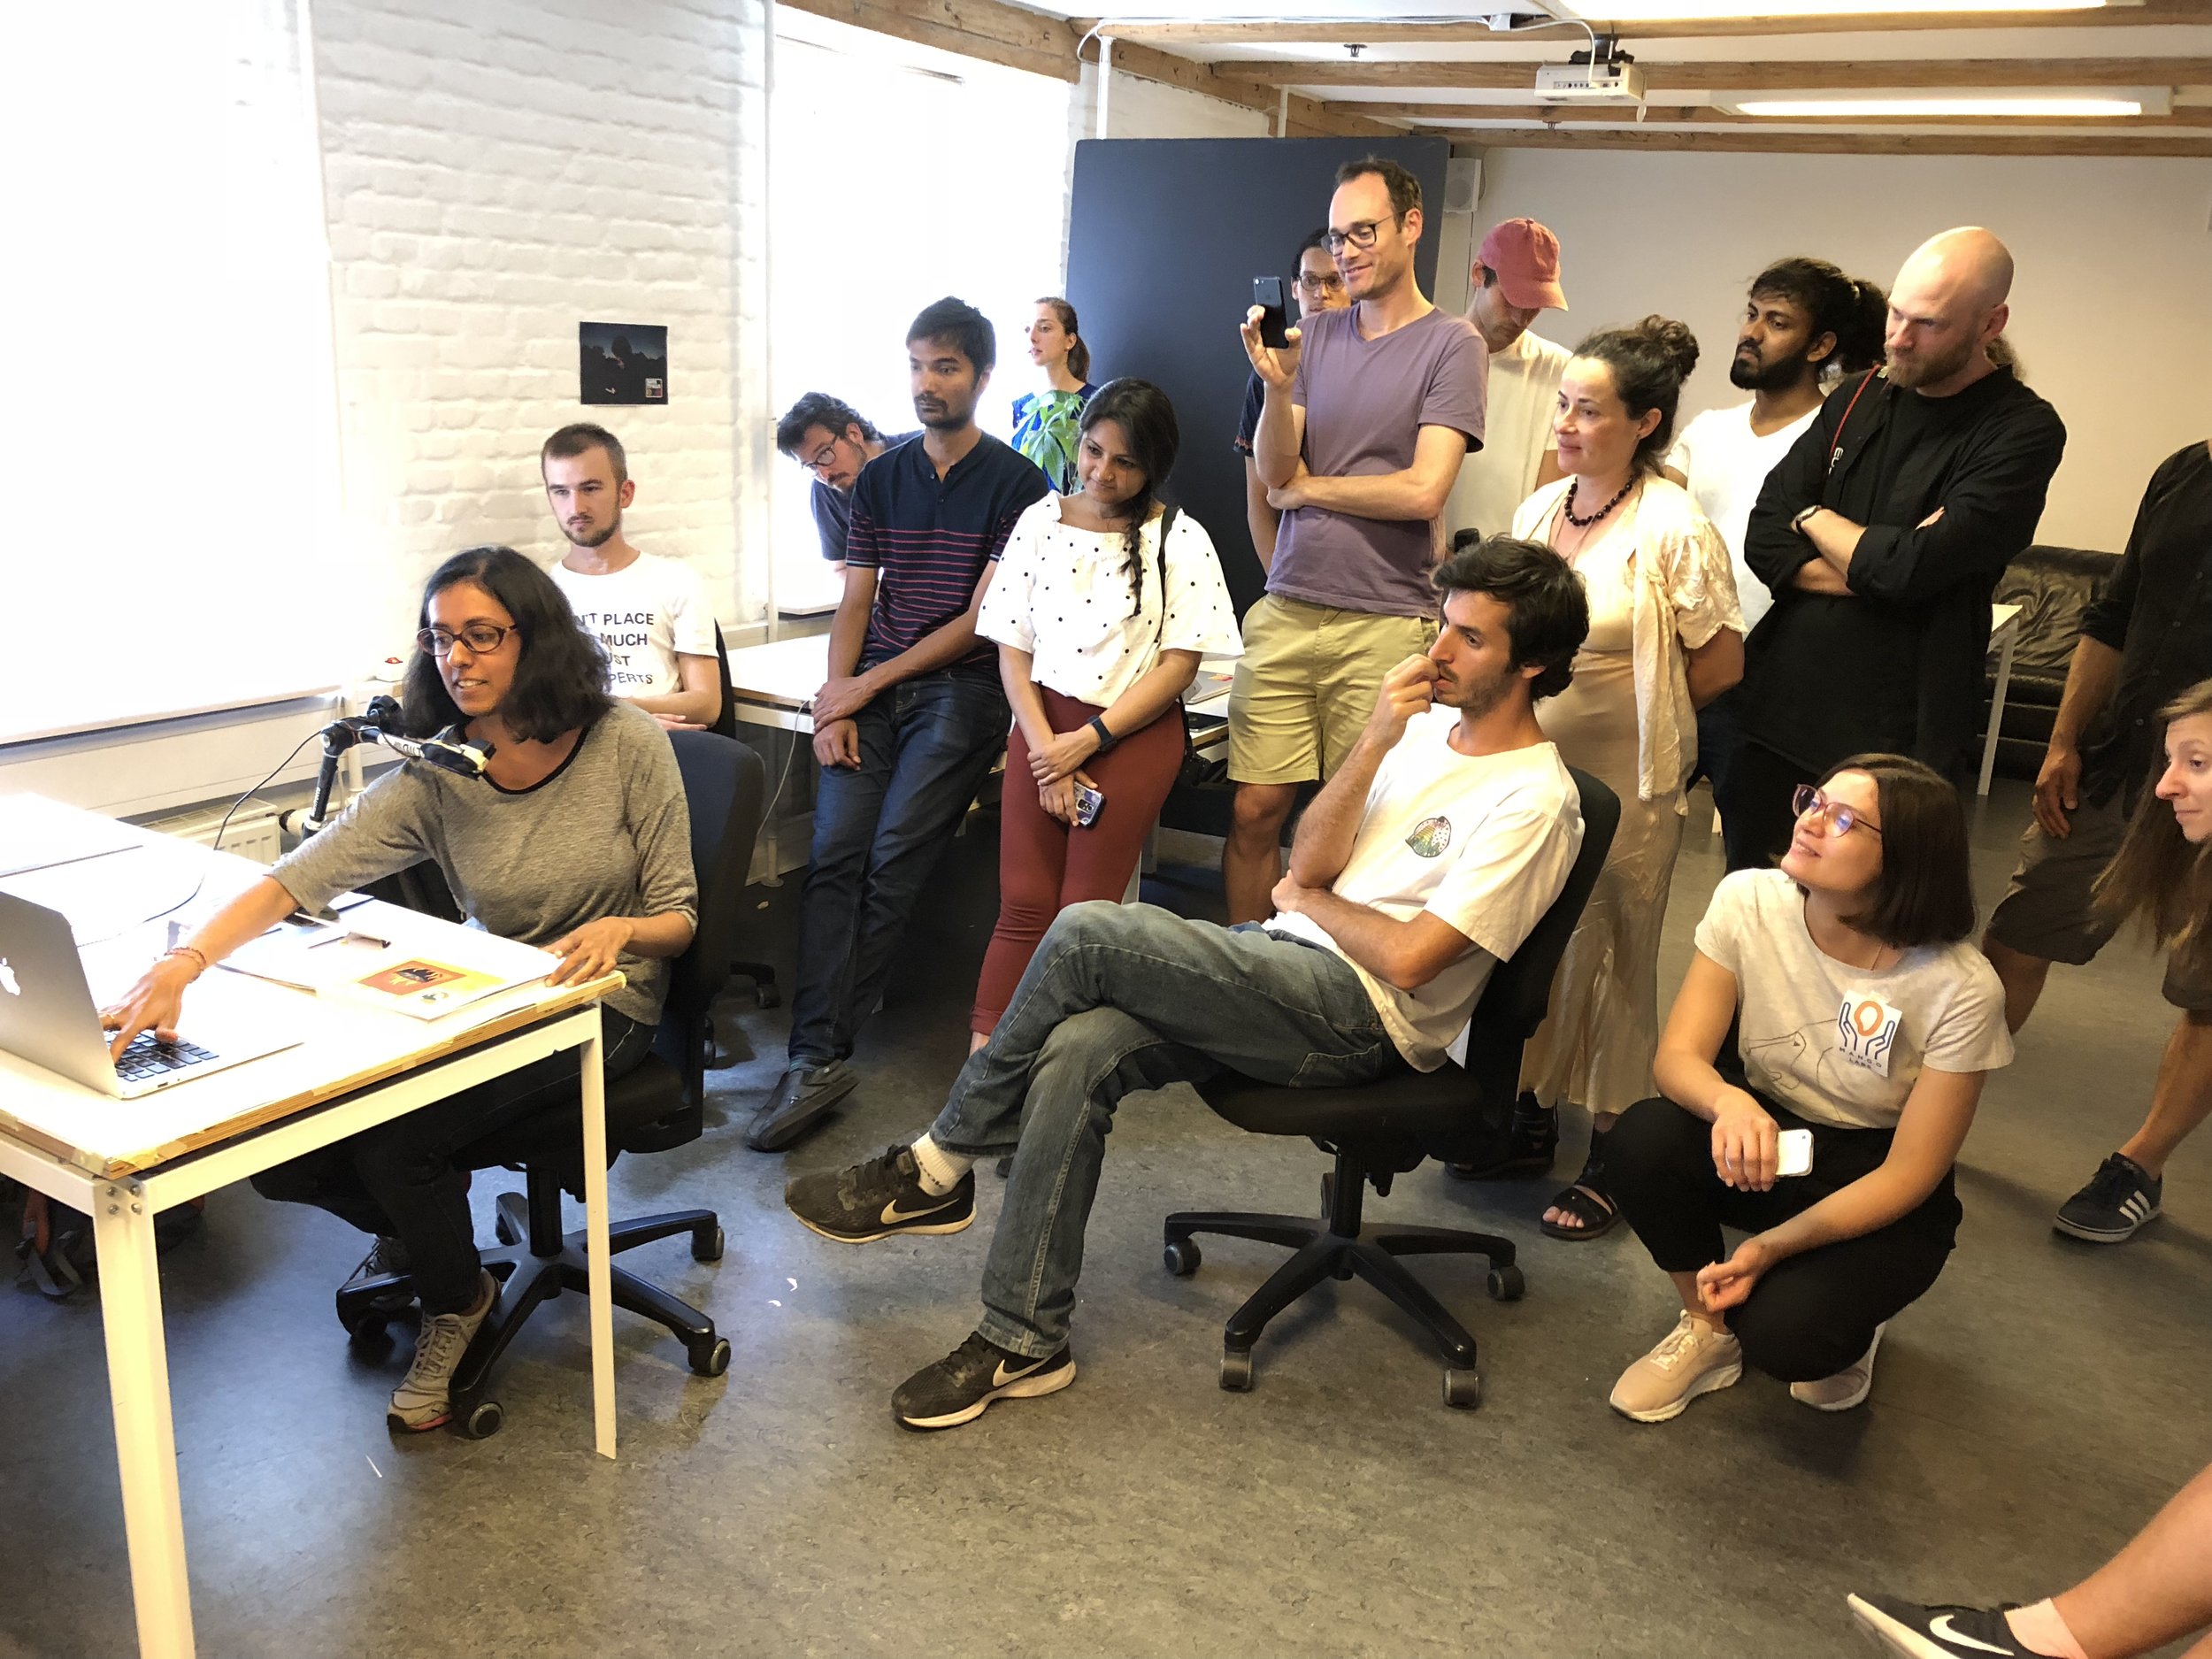
To begin week 3 we invited visitors to come and test a Beta version of the project developed from the previous week. Tuesday was dedicated to design production of final elements and students began to document their projects through video and writing (see beginning of this article). On Friday we began to share out the projects and refine our documentation.

Reflections on the course:

Our concept for the course was to take our group of students with us as we explored an emerging medium with new technologies, tools, and methods. In particular we wanted to create projects which reached between the physical and digital realms and blended them into holistic experiences. We were both excited and terrified to try something so ambiguous and ambitious in the course, but it was an incredible experience that taught us many lessons about the future. Thank you to all of the people of CIID who helped make this course possible as well as the students of the IDP 2018 who trusted us as their tour guides.
Location:
Copenhagen Institute of Interaction Design (CIID)
Toldbodgade 37b, 1253
København K
Denmark
Learning expectations:
- Using your hands – learning to make physical prototypes of all scales, starting at the analogue level, and working up to integrating digital components
- How to use analogue and digital tools to create interactive experiences
- Deepen prototyping skills and develop an understanding of how and when to use each technique
- Learning basic methodology to create an experience through user journeys, research, prototyping, user testing, body/brainstorming, workshopping, etc
- Learn practical idea generation and critical thinking methods
- How to create & use physical affordances, and how to design for action
- Learning basic methodology to create an experience through user journeys, research, prototyping, user testing, body/brainstorming, workshopping, etc
- Experience and develop a vocabulary for Virtual and Mixed Reality interaction design
- Develop an ability to find and expand insights related to interactive environments
- Prototyping communication skills – learning how to create and use prototypes, and when (fidelity vs. content, contextual use)
Downloads and Links:
- Github for the MRHT
- Learn Python
- XCode on the App Store
- Download Unity
- Using Vuforia in Unity
- Serial Cable RPi Tutorial
Unity Resources:
- Interface & Essentials - Unity
- Unity Manual
- Roll-a-ball tutorial - Unity
- Hello Unity 01 : Deconstructing Darkness